Thursday, April 18, 2013

The Letter L Day 2

So now that we now that the letter L has only two lines we decided to make the letter out of popsicle sticks! Long line down and little line across bottom. 

We started with the letter then we had traced it and connected the dots. Towards the end he was confidant enough to do it on his own. We also thought of lots of fun things that start with the Letter L. 


I also decided draw a heart and put inside of the heart a verse from the bible. I use a word such as LOVE and the Letter L with a connect the dots and had everything else spelled out. Malachi then wanted to trace the heart. I had written LOVE and four little heart stickers and was going to have my son tell me the verses that have love in them. He did a great job! He would put down a sticker and then I would ask him what the verse was and then he would tell me.


Now after this project my son, Josiah woke up from his nap, so I decided to distract him with coloring page while Malachi and I finished this project. You can probably tell that Josiah flew threw that coloring book as fast as he could and then was sitting right next to his brother! Luckily this time we were a little more rested and not as grumpy the other post on the letter L. On this project we had some stickers and a leaf. First I drew a Letter L on the paper with a block letter. Now I had ____adybug,  _____eaf, ____ion, _____amb and then I had my son write L in the blank spot. Then I would give him the sticker of the item he had just had written. I plucked a silk flower leaf and both the boys helped tape it on the paper. Malachi was willing to share with his brother and nothing makes a Mama happier then seeing them work together and encouraging each other by saying, "Good job brother!" or "Nice work!" instead of whining with words like "mine" and other silliness. Also Josiah had to have "Pa Grape" from the Veggie Tales "the Pirate's Who Don't Do Anything" in his hand or close by him at all times!
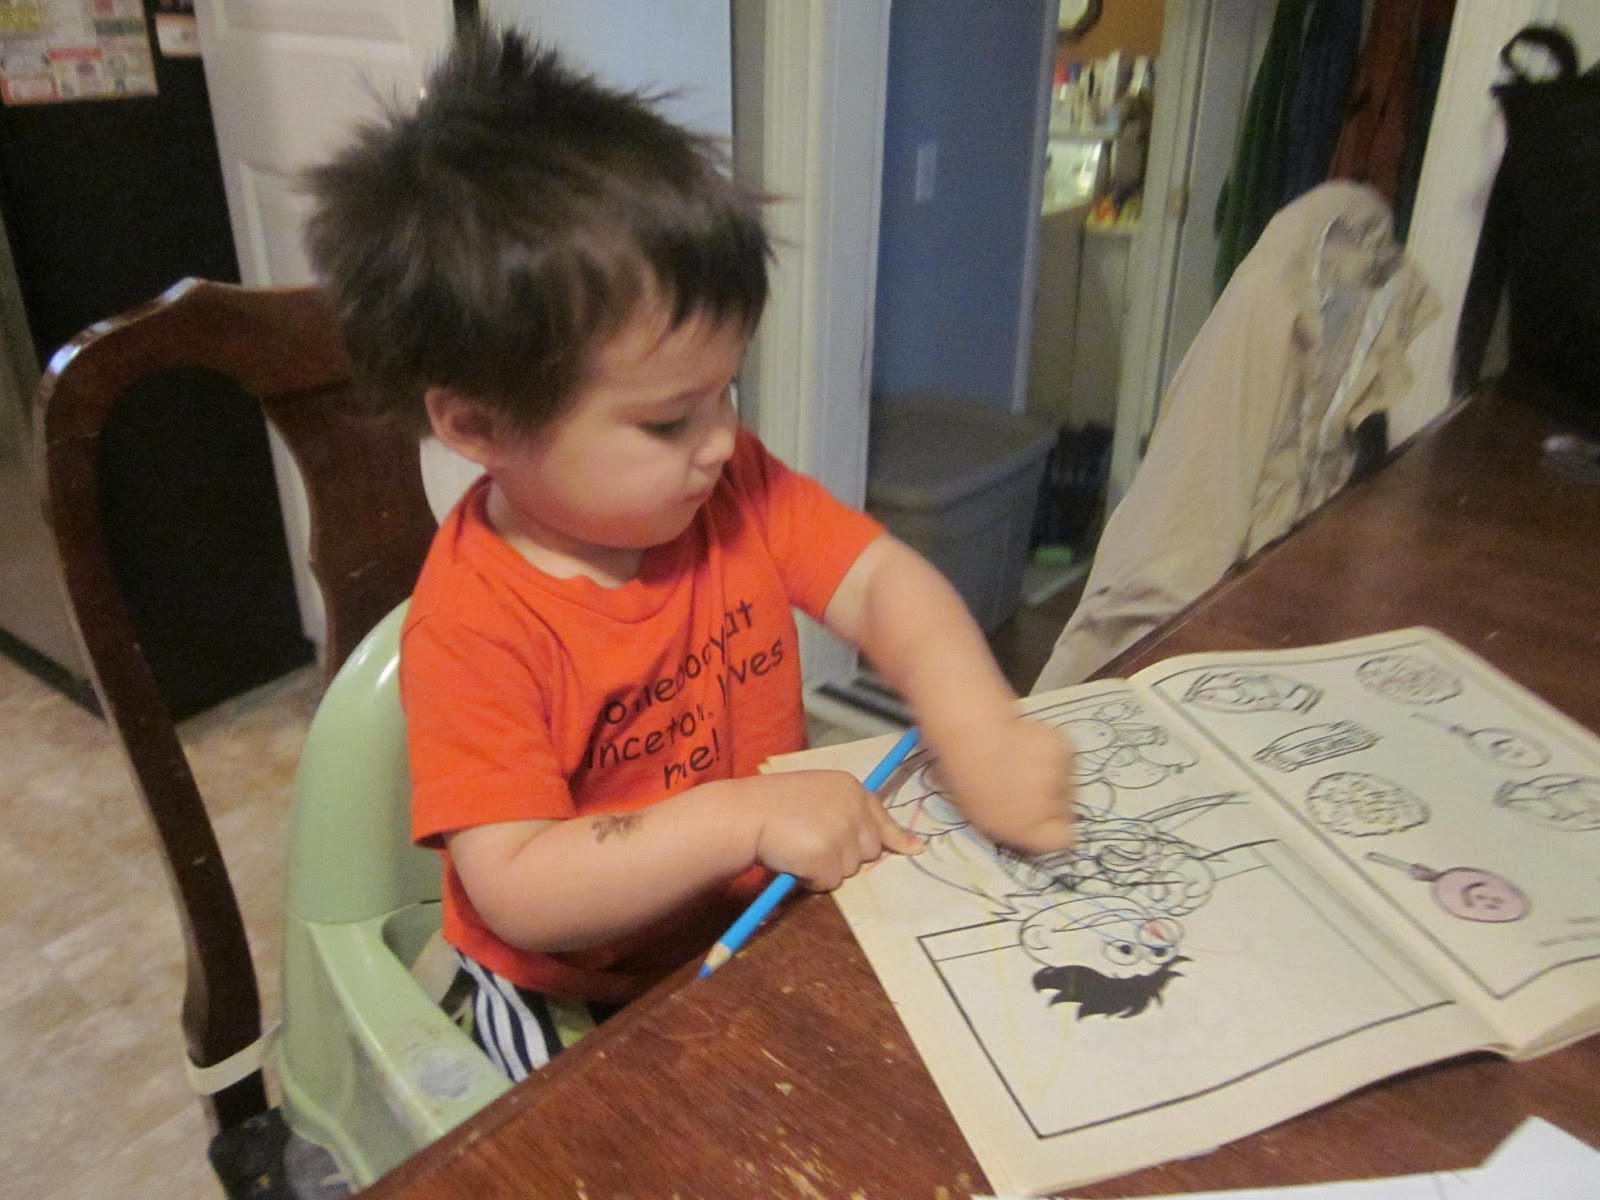
Sure do love my boys even when they aren't happy when I take their picture's, but especially when they really want me to take them!

Necklace MAKING! (For the Kiddos)

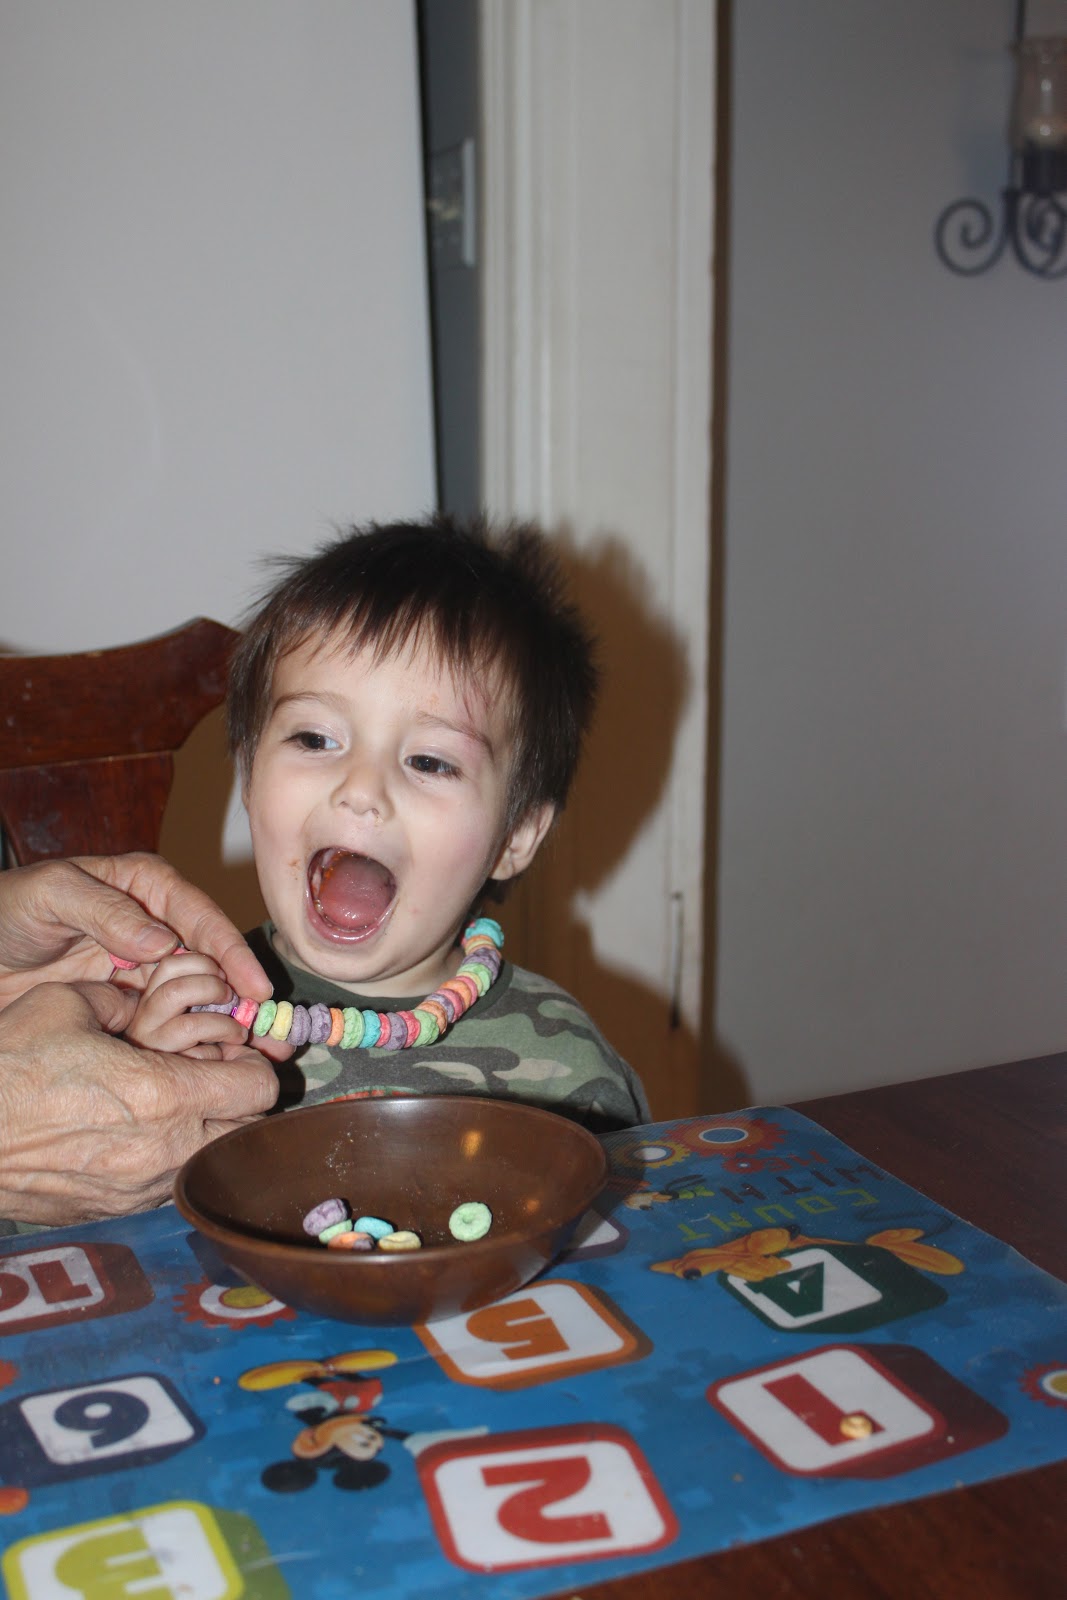
My in-laws came to help out while my husband had knee surgery this past week. It was great to see them and I love watching my boys interact with them! My mother-in-law always has a fun craft or surprise for our little boys and this time it was making a necklace out of string and colorful "O" shaped cereal piece's!

Things you need:
Ribbon or string
Scissors
"O" shaped cereal
Ability to tie a knot
The first thing that you do is make sure the ribbon is long enough to fit over the child's head then add a little bit more for the knots that you will need on both ends. After you cut the ribbon to the length that is needed then you do a double knot on one end of the ribbon. This is so that the cereal will not fall off one end while you drop them through the other side of string. I was very happy with the ribbon choice my mother in law and I were talking about it and we said that it was perfect of my boys age (almost 2 and almost 4). We were saying that it was a good thing because it wasn't fraying!!! Even if it was pink.... they had no care what so ever what color it was!
 Once you have gotten all of the cereal strung on the ribbon you then tie a knot and then double it! Then the real JOY for your little ones is once they get it put around their heads. Make sure you tell them to EAT UP! I wish I would of thought of this earlier but it would have been nice to have a glass of milk to enjoy with an edible necklace that they had made!  Oh well!
Thanks for for the wonderful idea!!!! What a fun project that requires 3 things many of you may have. I know that I did this when I was a kid but had forgotten about it until my mother-in-law mentioned that she wanted to do it. She had gotten the idea from her sister who had done this with her grandkids at Easter time!
Now when ever my eldest wants cereal he asks for the one that Nana brought them with the colorful ones and my youngest son wants Abby Cadabby cereal (oatmeal)! Also, thank you so much for all the help that you gave us while my hubby was out of commission, hopefully you enjoyed yourselves as much as we did!


Saturday, April 13, 2013

Nest HELPER!!!!

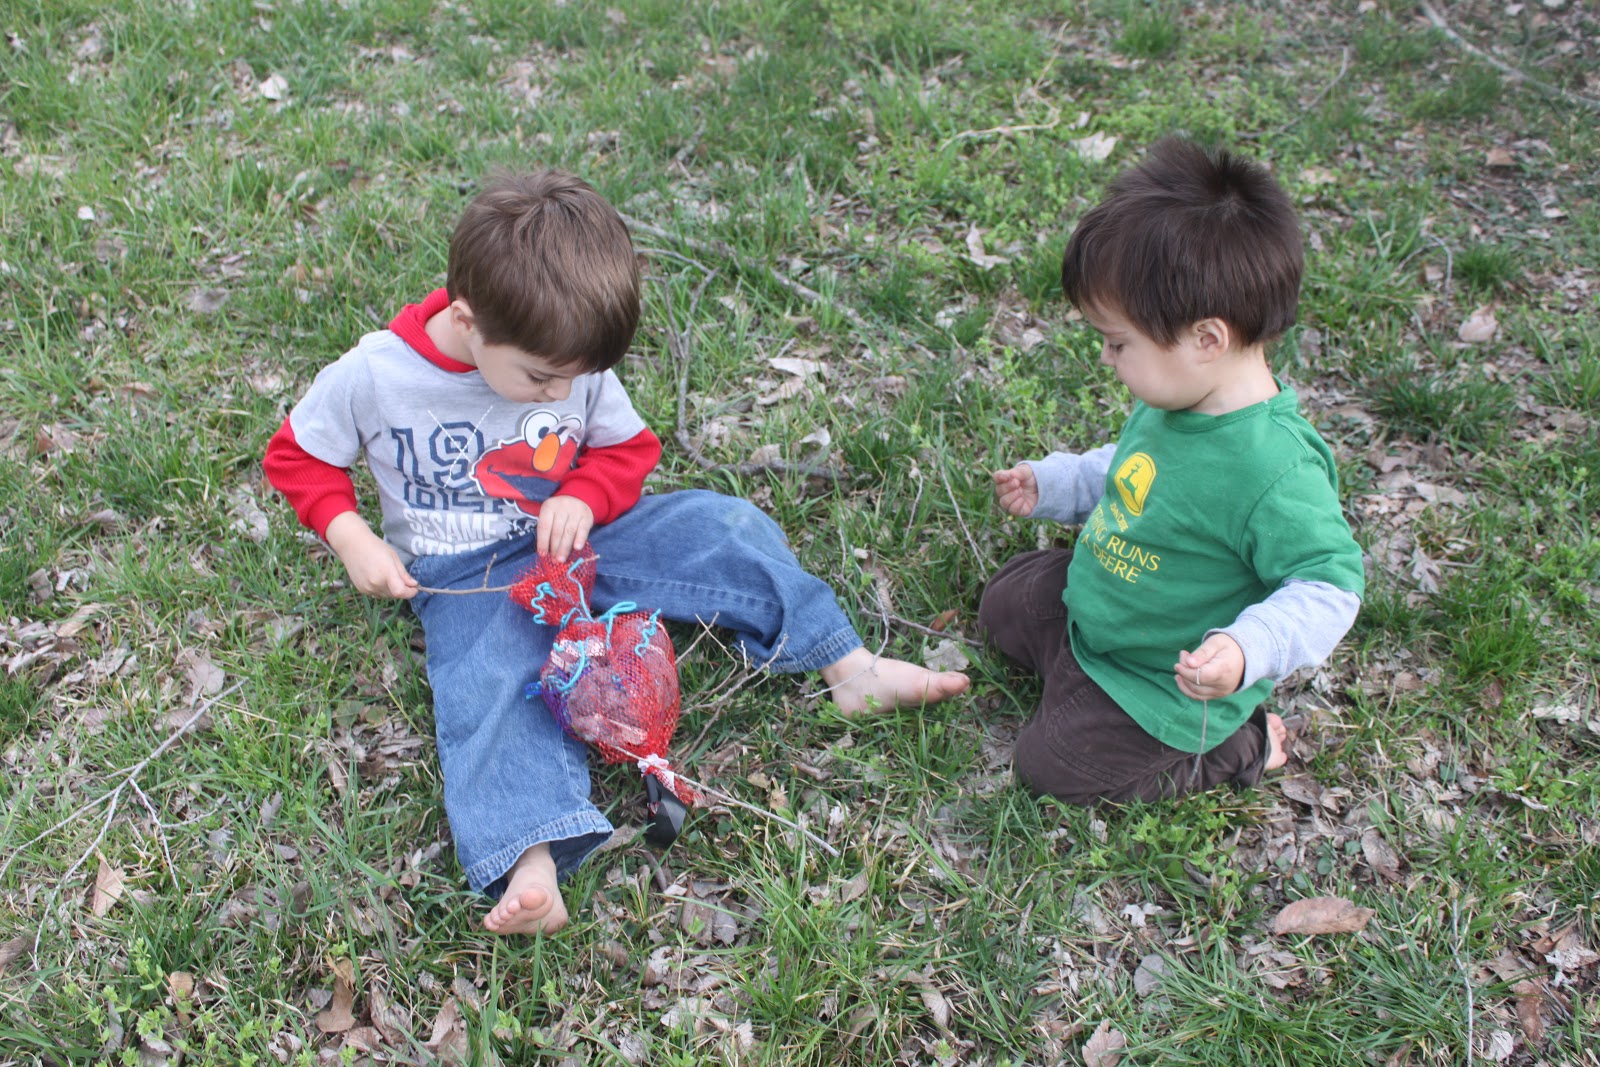
Help the birdies make beautiful NESTS!  I found this in a on pinterest and thought since my boys love looking at a the birds eating seeds out of the bird house with bird seed in it so they would love to do this! We had bought some clementines and thought a perfect way to reuse something that normally would get thrown away. First off I put a twist tie around the top and then the bread closuer thing to make sure it was sealed. Now we never cut a hole we just rip open the bag so I had to "sew" up the side where we tore into the bag and also where I had a hard time getting the of the label. So once that was done I was ready to have some help from my little ones.

My sweet little ALMOST two year old was much more interested in helping me then the 3 1/2 year old until we went outside. I had some yarn from old knitting projects that I had given up on instead of throwing them away  I had fun with my scissors. ; D
Also I had  few dryer lints piled up because I knew were going to do this project soon so we used some pieces of old coloring sheets that my little helper had torn to sheds and twigs from outside.


My little helper simply put in one by one each item to start with and toward the end the clumps got bigger and bigger! Next you have to grab the yarn and the little chunks of the lint so that it is hanging out of the holes so the bird can retrieve them easier.
It is time to go outside!!!!!  I gathered a whole bunch of little twigs and let the boys put them in where ever they wanted.


I wanted the birds to be able to find "The Nest Helper" so I placed it near the bird feeder. I took so ribbon and tie to the wood threw the loop in the bag.

After day one nearly all the sticks were gone and several pieces of yarn where gone too! Not sure if we will find any nest with our bright blue and teal yarn in them but it was a fun and  easy project we could do with out spending any extra money and we were able to reuse the product that normally goes into the trash!
On a nice spring day I love the excuse to be outside. And were out and about for the majority of the day after that 20 minute project.
We may take it down and add some thin ribbon and more twigs just for another excuse to be outside!

Saturday, April 6, 2013

The of the week Letter "L"

Day 1

Ya know how they say practice makes perfect? Well it is so true with little guys! I feel so horrible because it snowed and I have been too grouchy or "too busy" to do school with Malachi. He loves to learn but he forgot how to write his name. Yikes! I am unsure if he simply forgot how to write his name or if he was simply not able to concentrate.  Sometimes obviously people just don't like to listen, so it could be that too.  So know we have to try to get on a better schedule of me working with him with his numbers shapes and letters. 

To start with the letter L, the first thing that we did was to write in a coloring book for pre-k that I purchased at Wal-Mart was began with capital L. Then a few days later we did this project together!

Before I told Malachi to sit for this project I had a peace of paper that I drew the letter L and then wrote at the bottom... Name:______________

Next I pulled off some silk flowers leaves, had some lady bug stickers that were given to us and some sweet leopard skin border self adhesive tape for scrapbooking that my lovely sister in law gave to me.  (I think she got at at hobby lobby) You can do what ever you want! I already had the stickers and and leaves so why spend money on something if you already have it.


I had some issues getting the self adhesive and the backing to come off but eventually I was able to do so and had my son put down the outside of the letter.
Next I did this part on my own. I had a hot glue gun and then put the leaves on the paper. MJ calls the hot glue gun the gunner glue hot, super cute! There are only a few things he doesn't say correctly and I am okay with that. Especially how he says the color yellow.... lellow... it makes me HAPPY!
We have been working on following directions and I ask MJ to please choose 4 lady bug stickers and put one on each leaf. I was really impressed, he did a great job of listening and finishing the project.
And then came his breakdown of learning the hard way that practice makes perfect. He was able to write an M but that was it. He had been super excited because he learned how to write his name and he was doing it every time were outside with sidewalk chalk and on every piece of paper that he could find. Now that I think about it.... It might not be my fault or the mixture of not writing in so long on paper or the fact that I had made a Name:______________________ area which he has never had to write his name so small before on. I guess I will never know. Oh well.  So from that point on I told him it was fine and I would help him by giving him his name spelled out with dot to dot for each letter. Much better!


 Now for a bit of comic relief at least for me. Both boys were up and that has been another reason why we haven't done "school" One boy is going to be 4 in August and the other 2 in May. My sweet little 23 month old loves to take what ever the 3 1/2 year old is doing and destroy it.... then the 3 1/2 screams and starts to bang on the ground, chair, bed, himself or wherever.
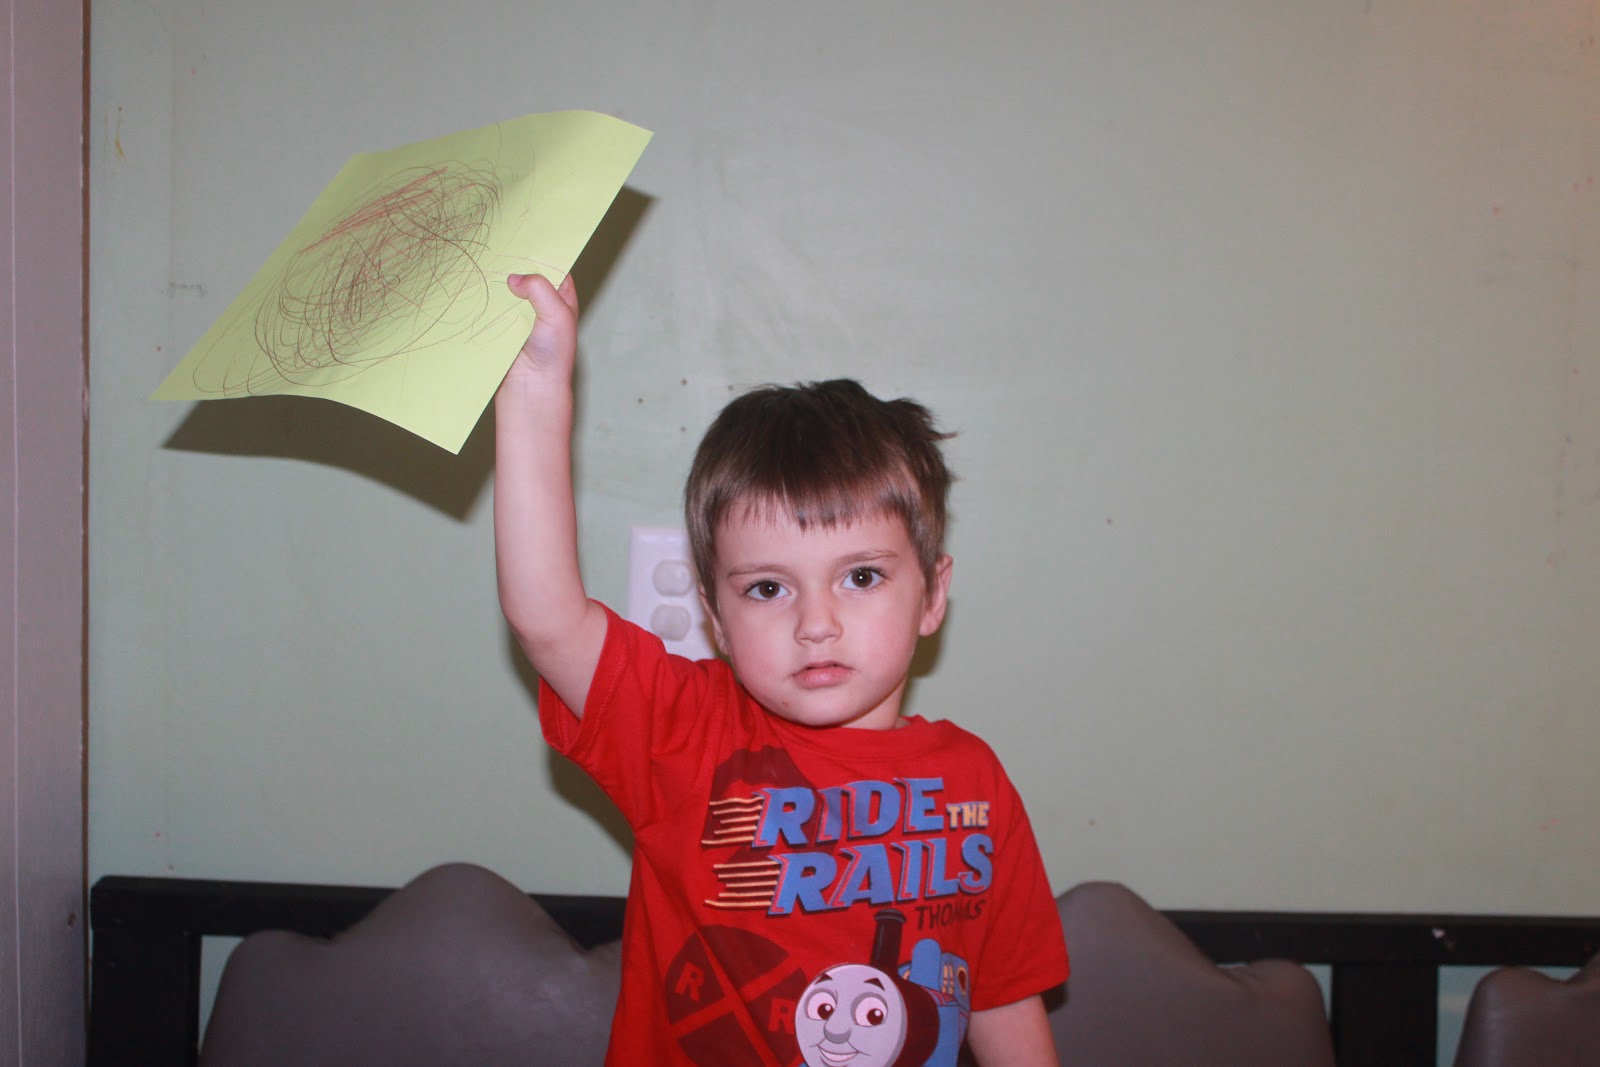
So I thought.... that I could give Josiah a piece of paper and his name on it and let him go to town on it while Malachi and I would be working on "L."

 You would think that he would be super proud of this and want his picture taken but NO instead he had a epic melt down!


 Malachi was finishing the letter L and now really wanted to color just like his baby brother... ?

 After he was done the brothers went on to the marble set that C and J gave to them before their big move. So thankful for that because the could play with that for hours and then put it away for 30 minutes and then be ready to build again and again!


Here is the final product!