Saturday, January 3, 2015

Salsa!


 Needed:
For this salsa you need a blender or a food processor.
1 can of whole tomatoes
2 cans of tomatoes and green peppers (mild, medium, or hot) your choose
1/2 of a onion
1 lime juice
2-4 cloves of garlic
1 teaspoon of cumin
1 tablespoon of sugar
1 jalapeño
Freshly ground pepper
Sea salt


My lime juicer!!!!!!!
 For the mild salsa I used a quarter of the jalapeño.
Pulse until you get the consistency that you want it, we like are to be like a sauce.
 I filled three pint jars with one batch of this recipe.
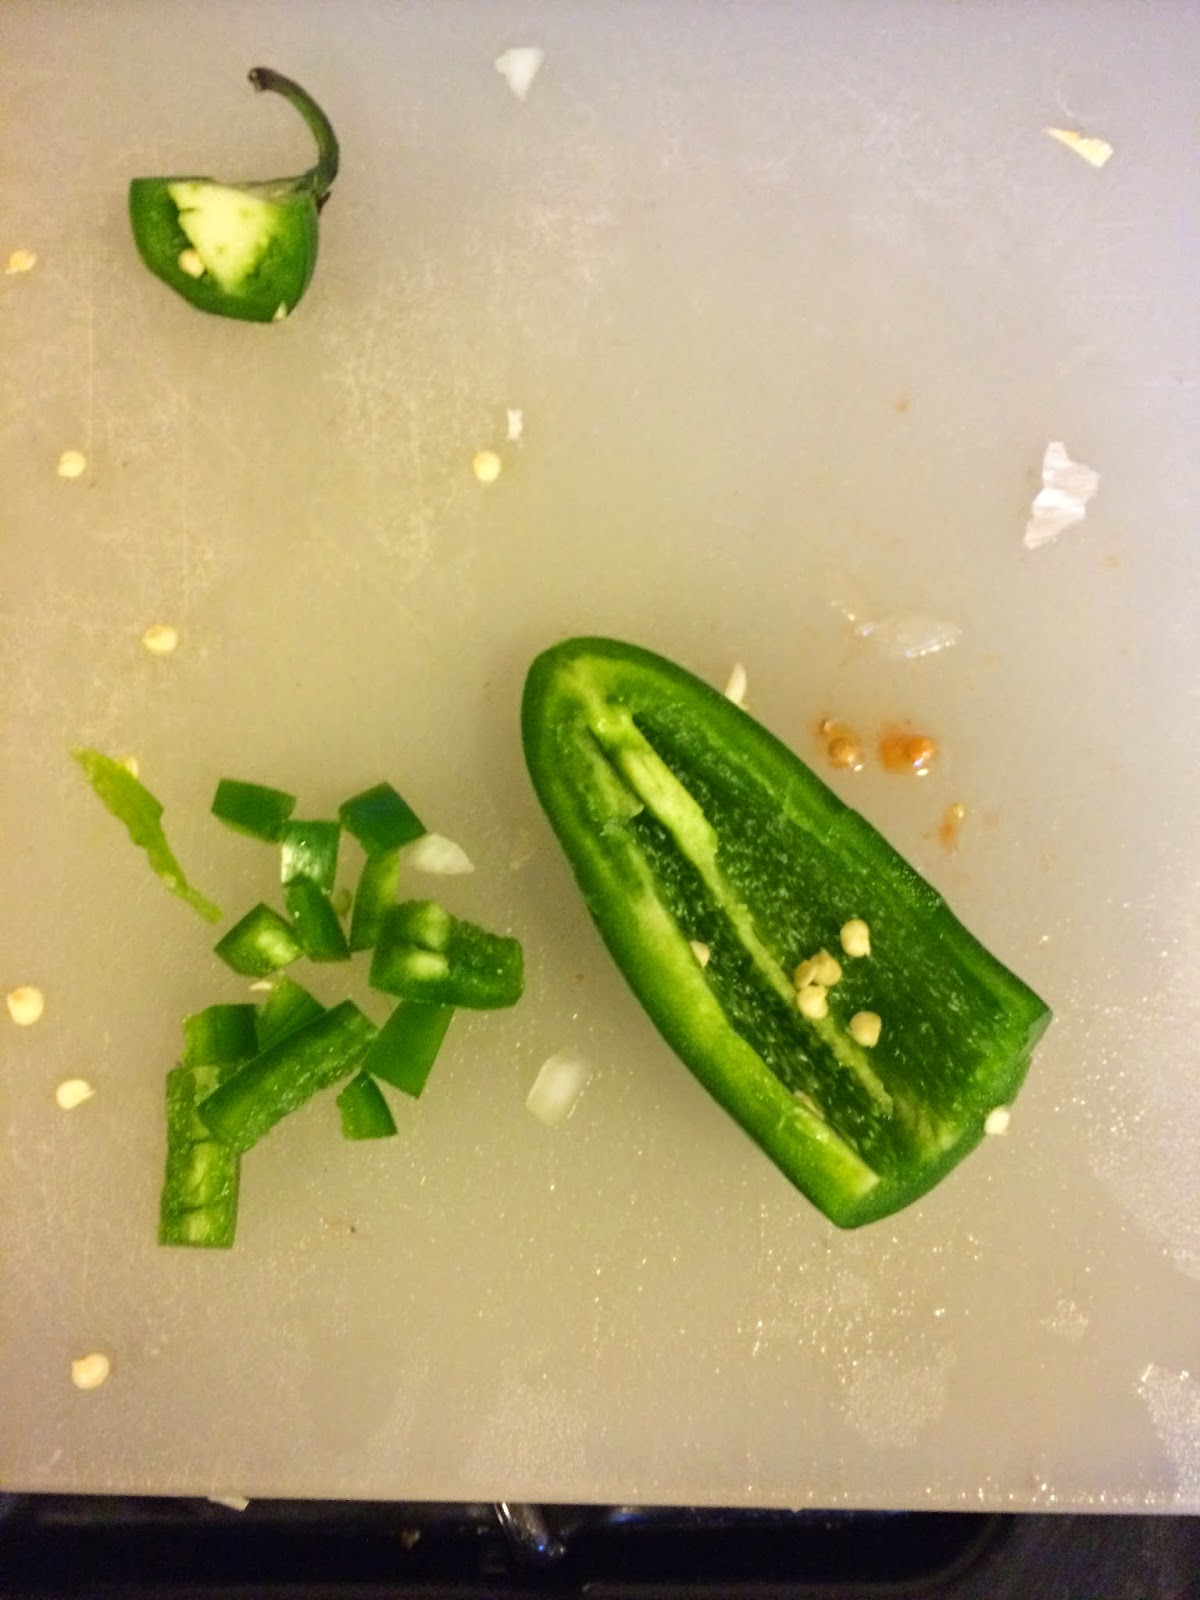
For the Medium Salsa I used a three quarters of jalapeño, and use one medium and one mild tomatoes and green chilies.  I think next time I will toast my jalapeños to add just a little more flavor.
So happy to have this in my fridge, may be it would take so long for me to make them once they are out. 

If you really don't like spicy, you could always do away with the jalapeño and stick to mild tomatoes and green chiles it you want it spicier then I would add more jalapeños and maybe even you the hot green chiles and tomatoes. You can adjust to make you and your family happy!

Hand Wreath's

Remember when.....
Making hand wreaths. 
I didn't know exactly how I was going to do this, but I had something very similar in mind. I originally thought I would like to do a wreath of each boys hands although once we started we would of had to make more hands and I would have to cut them out which would mean that if we did that the boys would nap and then that makes out for a grouchy mommy. So... we combined them and we will smile about that ;-)!

Needed for this project:
paper plates
scissors
paper 
paint
glue
glitter
Christmas songs playing in the background! 

I drew a circle for MJ to cut it out and I cut out JD's inner circle.
 JD was so proud of his little hands.
 We did lots and lots of hands....
Painting time
 
We set aside the painted plates and it was now time for GLUE and GLITER! I helped JD put on his glue and MJ put 3 dots on each finger.
 The aftermath of the glue and glitter....
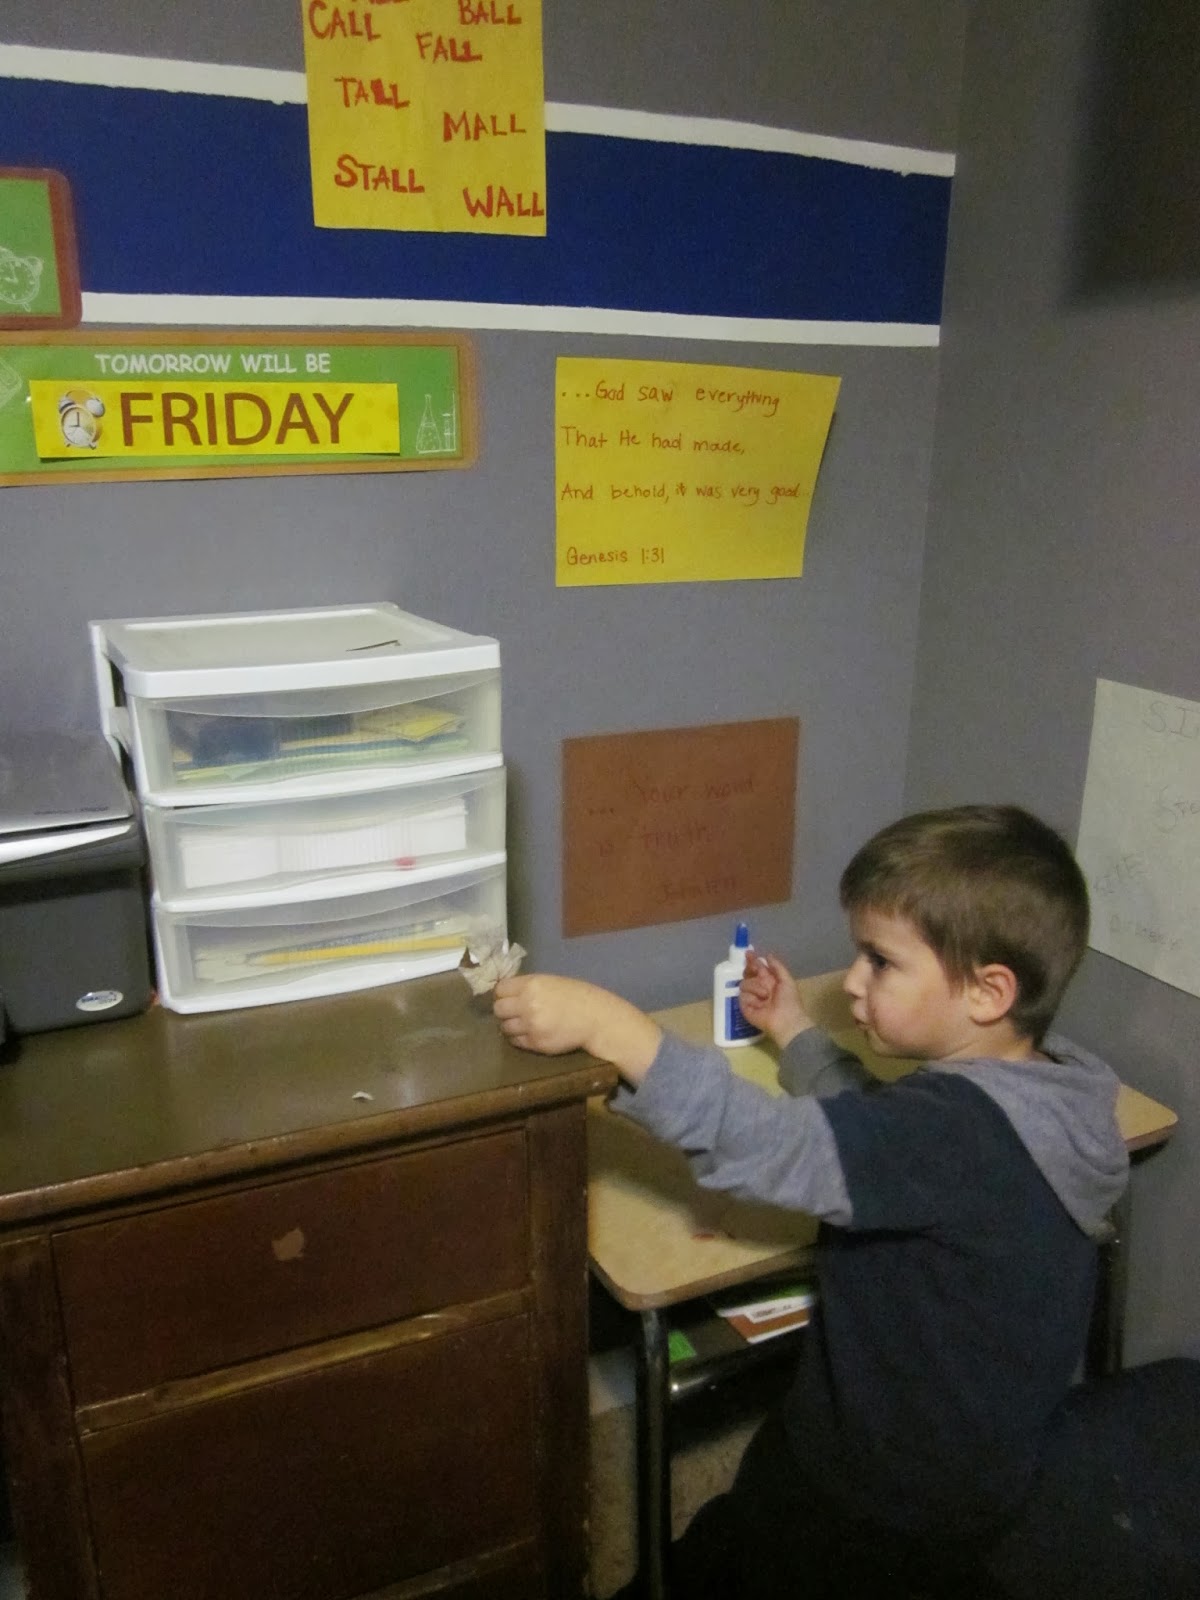
I love to see my boys working together to get a project done.
Here is the final product. My boys were pretty proud!
  

Tuesday, December 23, 2014

Christmas Card Tree

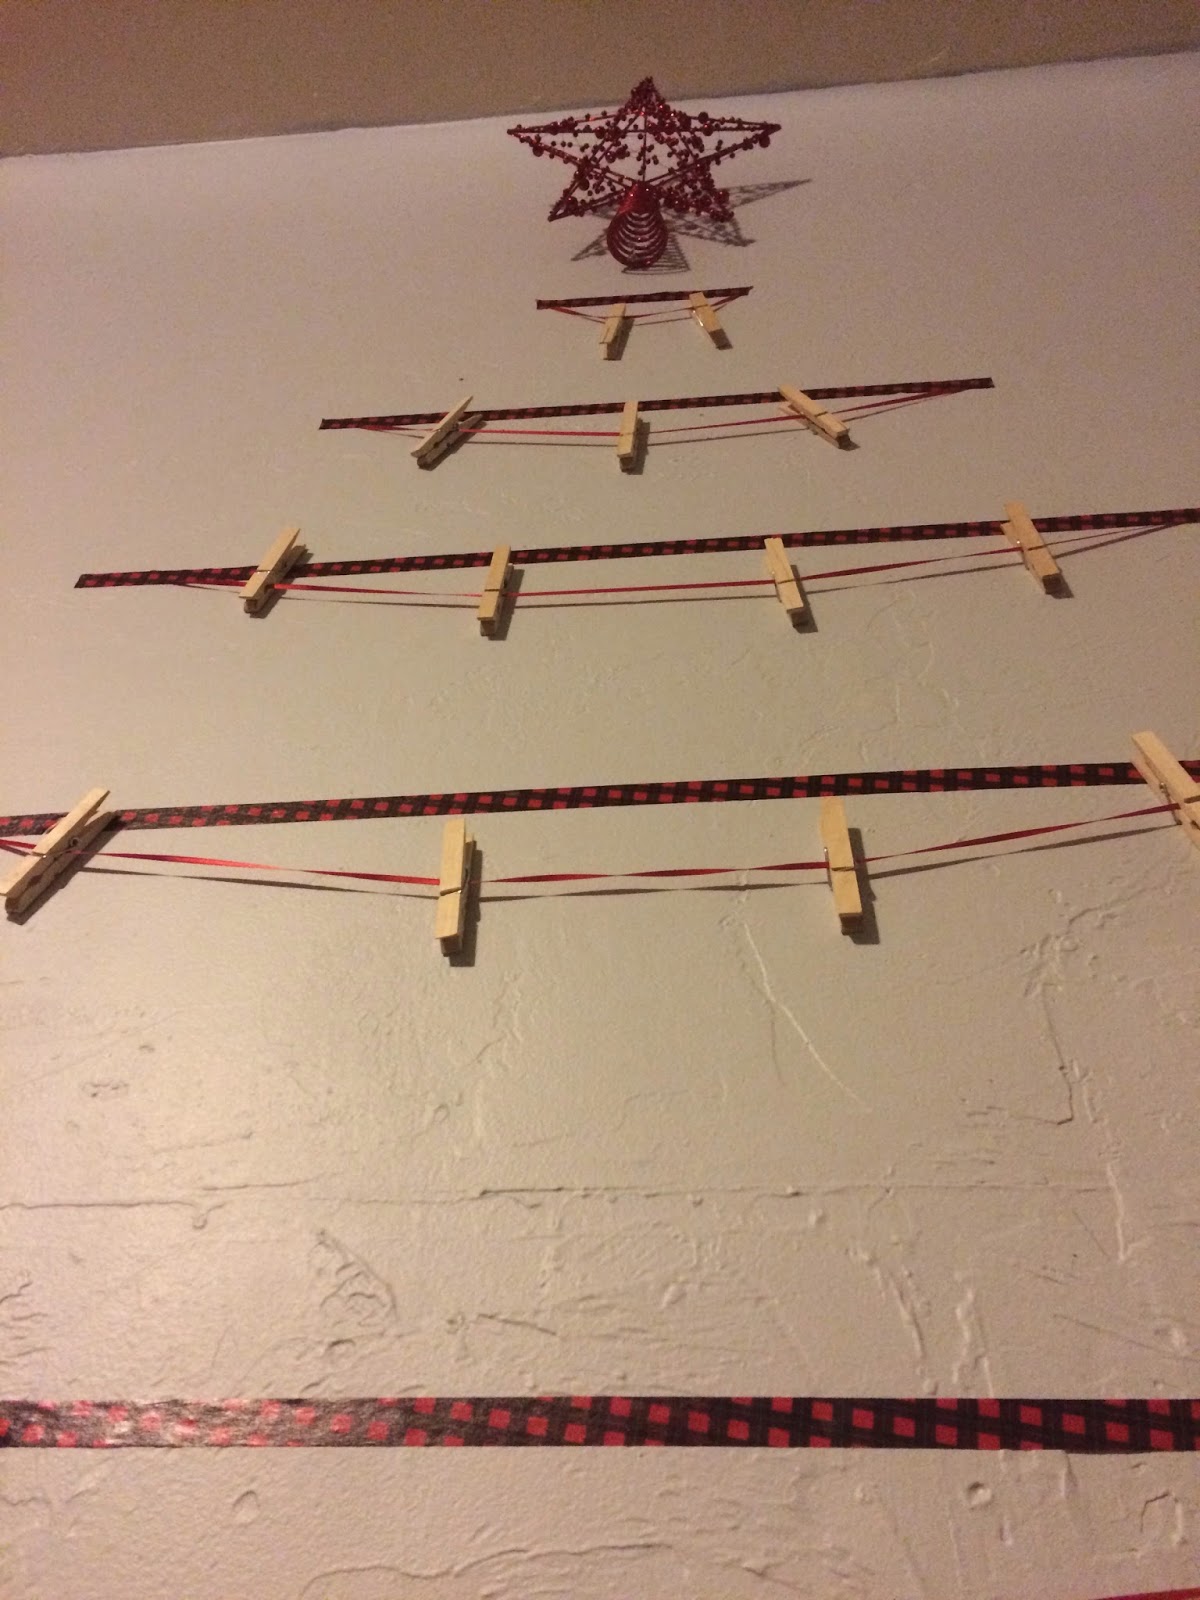
A fun idea to hang up Christmas cards, I found on Pinterest.

For this project:
Star
Washi Tape
String or ribbon
clothes pins
push pins
CHRISTMAS CARDS

One thing that I really like about this great way to display cards is that you and do so much to change it up. It doesn't have to look just like mine. Your could do a twig star or have a felt star or what ever you wish. There are so many options with washi tape, good luck choosing! You can use twine or fishing line or what ever color ribbon you wish.

I was so proud that I found this star on sale and then received an extra 30% off so that I could do this fun little project. Since we have a clothes line it wasn't a big deal for me to buy the clothes pins. And for the first time I used washi tape. I stood in Staples debating which one to use... have you seen how many options there are? But when I think of christmas I think about red and black flannel pajamas and how comfy cozy they are.  Plus it was a real bonus that they had a special on the red star and some red string from last year.


 I ended up needing to use push pins to hold the string on with the card and clothes pins since it weighed too much for the tape to hold it up.  The only way that they would fall is when my little rascals would pull on them, but after time like all things, they learned not to mess around with the string or cards.

The boys started to hang up the cards instead of rip them off. What a joy to read all of the cards to them or sometimes them to me.  Since I adore Christmas, the meaning of Christmas, and the spirit of Christmas it means a lot that they are starting to love it too!I Really there  is nothing better. 


With two days until Christmas the Christmas Card Tree looks beautiful! Can I tell you a secret? I LOVE sending out christmas cards!!!! It is so much fun... for me!!!!  It is a way to show how much God loved us and the commandment to share that love with his people. I think about my Grandmothers who would call me as soon as they received a card filled with joy. Another secret is that I love to get mail and I have given that joy to my boys.  It is always an adventure to see what is in the mailbox and who got what. 


Tuesday, August 19, 2014

Frozen Oreo Pudding Pops

Frozen Oreo Pudding Pops with NANA in Denver

Oreo Pudding Pops
1 box (6 oz) chocolate
1 box (6 oz) vanilla pudding
6 cups of milk
8 crushed Oreo cookies
Popsicle molds or dixie cups

1. Prepare the pudding in separate bowls, following the direction on the box. Split the crushed cookies in the chocolate pudding and the vanilla.

2.Fill popsicle molds, (we used dixie cups and popsicle sticks) with a layer of chocolate and vanilla. It looks really fun when there is three or more layers.

3. Place in the freezer for 3-4 hours. Enjoy on a hot summer day with some people you LOVE!

Chocolate pudding with crushed cookies and vanilla with the crushed cookies, There are ready to be put in the molds (dixie cups).
MJ help his Nana's pour chocolate layer.
JD helps Nana with vanilla.
Nana reviles the first one!!!!
MJ takes his first bite...
Then JD tries his....
It's a hit!
Thanks you Nana!


Monday, August 18, 2014

LEAF Turkeys

First off we had to start a leaves collection for this project. The boys had lots of fun doing this and frankly had a bigger collection than we need! Isn't hat how it always works though? 

Now I am starting to feel a little guilty because I usually take photos of my oldest boy working on the project. With the younger son I am either I am frantically trying to  do everything in the right order and not destroy the house once he wakes up from his nap or trying to do to many things at once with MJ (older) and JD (younger). Maybe one of these days I will do a better job of catching both of them doing the projects. As for now I have to know that it is good that I did the best that I could and our house is still standing! 

The boys divided up the leaves and then choose a fall colored piece of construction paper. I cut out the body of the turkey, which was a brown piece of contraction paper in a figure eight shape. I also cut the legs and nose out of felt. The boys put on there googly eyes. Sure is cool that we can use a little bit of nature to make our craft on a little bit different.
Pretty AWESOME!!!! I really like seeing them work as the project turns out. I let MJ have control of the glue and he thought he was so BIG! This Mama is having a hard time with that but like I tell him, God has big plans for you today and tomorrow and all the days after that as you get bigger and older. 
JD will have to wait a few more years! for glue control ;).

I have to remind myself of this verse when ever I start to feel anxious. Even about not taking photos of JD doing his project. I don't have to have it all together and I don't. I know that my GOD take me as I am, and forgives me when I ask.
God is so good!!!!

Philippians 4:6

Do not be anxious about anything, but in every situation, by prayer and petition, with thanksgiving, present your requests to God.