Saturday, April 6, 2013

The of the week Letter "L"

Day 1

Ya know how they say practice makes perfect? Well it is so true with little guys! I feel so horrible because it snowed and I have been too grouchy or "too busy" to do school with Malachi. He loves to learn but he forgot how to write his name. Yikes! I am unsure if he simply forgot how to write his name or if he was simply not able to concentrate.  Sometimes obviously people just don't like to listen, so it could be that too.  So know we have to try to get on a better schedule of me working with him with his numbers shapes and letters. 

To start with the letter L, the first thing that we did was to write in a coloring book for pre-k that I purchased at Wal-Mart was began with capital L. Then a few days later we did this project together!

Before I told Malachi to sit for this project I had a peace of paper that I drew the letter L and then wrote at the bottom... Name:______________

Next I pulled off some silk flowers leaves, had some lady bug stickers that were given to us and some sweet leopard skin border self adhesive tape for scrapbooking that my lovely sister in law gave to me.  (I think she got at at hobby lobby) You can do what ever you want! I already had the stickers and and leaves so why spend money on something if you already have it.


I had some issues getting the self adhesive and the backing to come off but eventually I was able to do so and had my son put down the outside of the letter.
Next I did this part on my own. I had a hot glue gun and then put the leaves on the paper. MJ calls the hot glue gun the gunner glue hot, super cute! There are only a few things he doesn't say correctly and I am okay with that. Especially how he says the color yellow.... lellow... it makes me HAPPY!
We have been working on following directions and I ask MJ to please choose 4 lady bug stickers and put one on each leaf. I was really impressed, he did a great job of listening and finishing the project.
And then came his breakdown of learning the hard way that practice makes perfect. He was able to write an M but that was it. He had been super excited because he learned how to write his name and he was doing it every time were outside with sidewalk chalk and on every piece of paper that he could find. Now that I think about it.... It might not be my fault or the mixture of not writing in so long on paper or the fact that I had made a Name:______________________ area which he has never had to write his name so small before on. I guess I will never know. Oh well.  So from that point on I told him it was fine and I would help him by giving him his name spelled out with dot to dot for each letter. Much better!


 Now for a bit of comic relief at least for me. Both boys were up and that has been another reason why we haven't done "school" One boy is going to be 4 in August and the other 2 in May. My sweet little 23 month old loves to take what ever the 3 1/2 year old is doing and destroy it.... then the 3 1/2 screams and starts to bang on the ground, chair, bed, himself or wherever.
So I thought.... that I could give Josiah a piece of paper and his name on it and let him go to town on it while Malachi and I would be working on "L."

 You would think that he would be super proud of this and want his picture taken but NO instead he had a epic melt down!


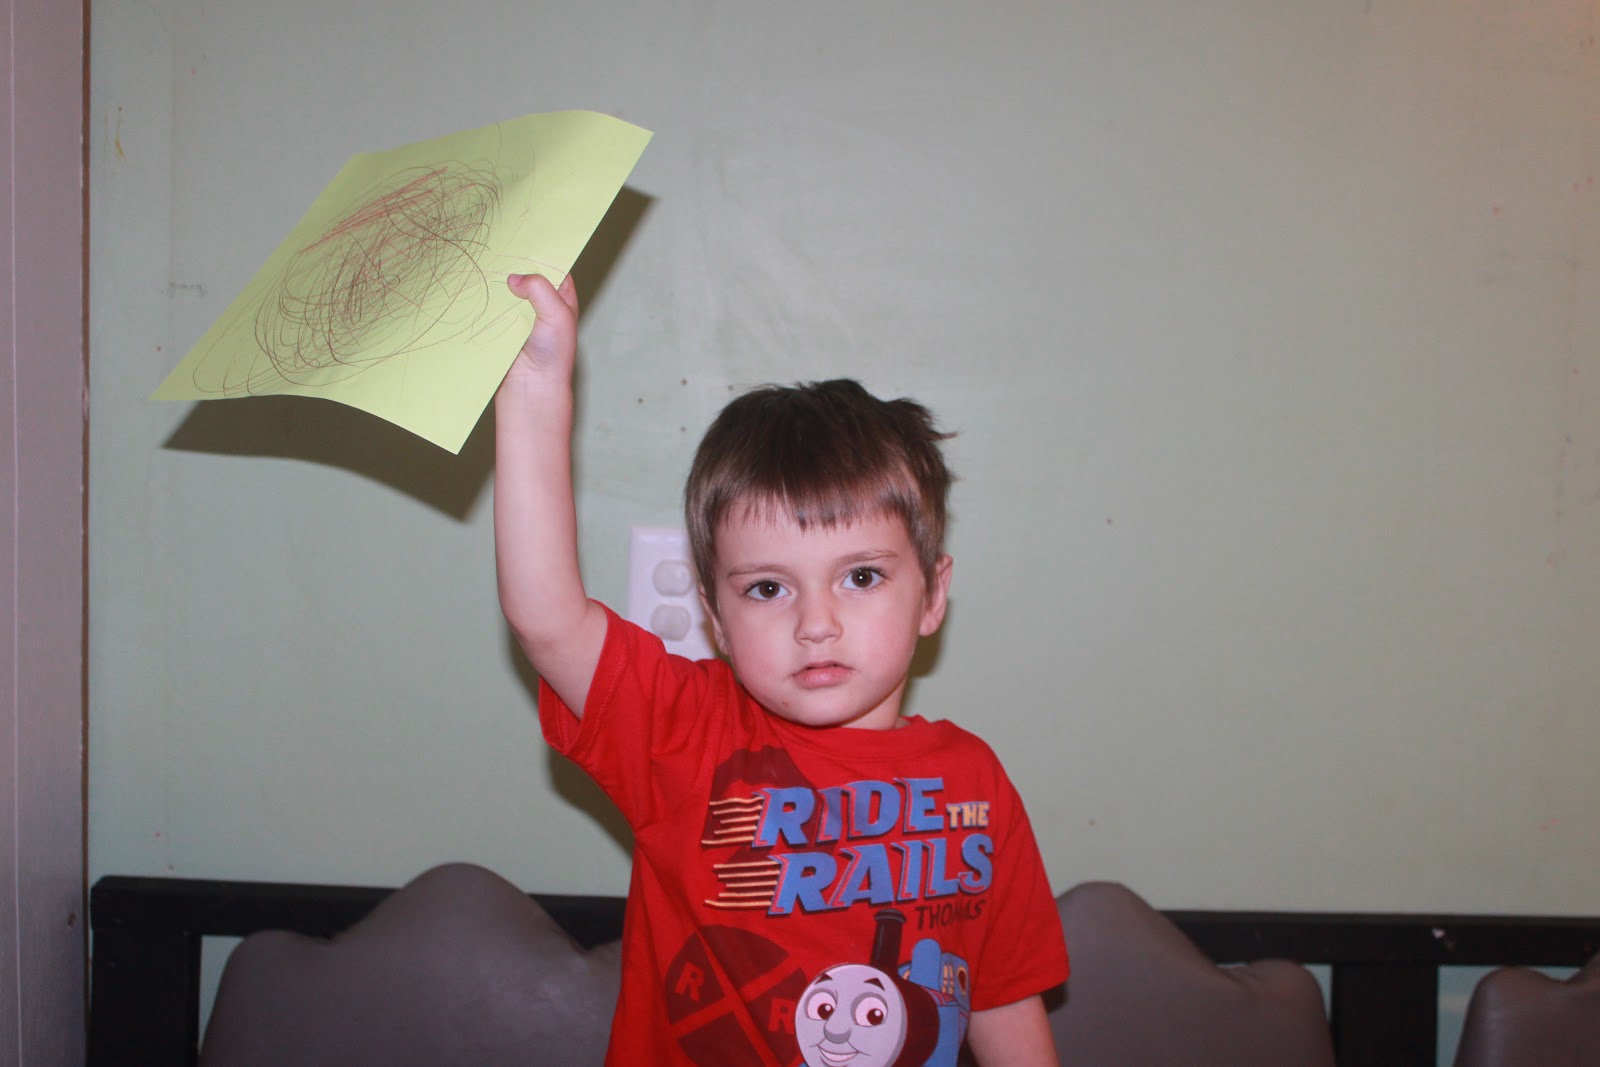
 Malachi was finishing the letter L and now really wanted to color just like his baby brother... ?

 After he was done the brothers went on to the marble set that C and J gave to them before their big move. So thankful for that because the could play with that for hours and then put it away for 30 minutes and then be ready to build again and again!


Here is the final product!

Thursday, March 28, 2013

Easter is NEARING!!!!!!

Easter is next SUNDAY!!! 

What an honor that we have an amazing God who sent His Son to the world knowing that He would be murdered by the people that He loves. Only to raise Him from the dead and now we now longer have to offer sacrifices for forgiveness, instead all we need is Jesus in our hearts! Wow!!!! So on this past Sunday (Palm Sunday) it was so much fun seeing our two little boys up singing HOSANNA! HOSANNA! HOSANNA!!!!! They were so proud too at the front of the church, waving their palm branches up and down. So being a proud Momma I have to share this with you! In just a few years I won't be able to believe that they did this and it melts my heart to be their Momma. 

Little Eggs!

Here is an attempt at making the Mod Podge Easter Eggs balloons with yarn. Some of the water balloons deflated, which means that the yarn and mad podge turns into a round little rats nest. I was originally going to have them be on a garland but I wasn't expecting them to deflate so I choose to put them in a glass bowl instead. 
Things needed:
Yard
Scissors
Balloons
Mod Podge
Flat surface to let them dry (It took my more than 24 hours to dry)

Blow up as many balloons as you would like to have for either garland or decorations and then I would do a few extra!!!!  Pour out the mod podge in a bowl and then soak the cut yarn in the mod podge. I used smaller string and my friend used longer strings. It is up to you! Then start to wrap the balloon in whatever way you would like. I really like the all over criss-cross once the balloon is popped. Once you feel like enough of the balloon is covered with the yarn then you can start on the next one. Mod podge  has a stink to it and once it dries it is hard to get off your hands so.... Be CAREFUL!


And finally the eggs that made it through! I chose to do pastel, boy colors seeing how I am the only girl and not the biggest fan of pink and I didn't have a lilac so that was that! It was a blast getting to hang out with some friends for a couple of hours while the kiddos played.


My eldest son wanted me to share his special verse from Awana about Easter.
Luke 24:6
He is not here. He has risen!

Saturday, March 23, 2013

Growing VEGGIES!!!!!!!! Part 1

It is SPRING time!!!!!!!!! 

  I am so excited for spring! The Reeser clan has decided to have a vegetable garden this year. We will grow broccoli, Roma tomatoes, bell peppers, banana peppers, carrots, corn, green beans and sweet peas, and cascabella peppers.  We will also have a  mini herb garden with basil, cilantro and oregano.  We may have to replant our blue berries and strawberries, also.... but maybe they we will wait until next year.
  Last year we had our blueberries and strawberries in the back of our garage so we had to manually water them with a pitcher, it would not be that big of a deal expect it we one of the hottest summers in Kansas, well like EVER 110 for about a month. Yikes! So we changed the location of the garden and moved it by the other things that we water normally.
  We had some changes to our yard and needed something to do in the space so why not put a garden inside it?
  First what we did is planned out the size that we wanted the garden to be. We wanted to have a cinder blocks for the outside border so that we can have the herb in the slots. After that we put down left over wood from the many construction projects we have done. (It is nice to recycle those items.) Now it is time to bring in the dirt!!!! Winfield has it plus's and it negatives, but one of it super cool things is that there is a compost site that takes your grass trimming, raked up leaves, and tree limbs. Also, the best thing is that the compost if free if you live in Winfield and they also have free mulch from the tree limbs. So we grabbed our trash cans (we don't have a truck) and put them in the trunk and filled up the trash cans about 5 times so in total we had 10 trash cans filled with free compost. I was very excited to have that done.
  Since spring was creeping up on us on the 3rd week of March I took the seeds and found the ones that need to be planted in the little de-compsoable containers inside for about 6-8 weeks. And out of the ones that we had picked, I need to have the tomatoes, all the peppers, and broccoli.  So I had my sweet little helpers fill the container with the dirt will I put the seeds in and marked them with a sharpie.
  We really don't have an area that we can have the plants out without little hand getting in to them. The one room that my little munchkins are rarely in is the spare bedroom. So I pulled back the curtains, put a tarp over the bed and bought the things for your indoor plants so that the water doesn't go every where. It seems to be doing really well! After about 5 days broccoli is my new favorite because it sprouted first!

Stay tuned to see if broccoli is still my one my favorites!

Thursday, March 14, 2013

Bird Feeder: Toilet Paper Roll and Peanut Butter

It was a beautiful day today and it was not windy at all! We live in Kansas so anyone who has visited or lives in KS  knows that is an incredible event!!!!
I really wanted the boys and myself to be outside for most of the day. So the first step was getting them outside and then the rest was easy!

Things to have when making this bird feeder:
Toilet paper rolls
Peanut butter
Knife or something to spread it with
Birdseed
Cookie sheet
Ribbon
Nice spot to hang it!

The best thing about this is that you can do it inside too!   Here are the supplies we used!
Fun to put bird seed all over the pan.
Peanut butter covered the outside of the roll.


I let the kids roll it in the seeds and they loved it! They did it for about 20 minutes. Had to make sure every spot was filled!


It was a fun, cheap and not a huge deal of planning.   Plus the boys took pride in this project! Gotta love it when everything works for out for you!


Friday, March 1, 2013

The Letter "H"

So I have been working with my son MJ (3) on his writing letters and so on... Here is some of the stuff we did for the letter "H"
We started with the letter "H" because we were going over his Cubbie (AWANA ministry) book trying to achieve the Apple Tree sticker and there was a little Project that you could do to help you remember the verses and they were chain HEARTS. So then I got way ambitious and thought that we could make some for the other Cubbies  (AWANA age 3-5) seeing how it was January we would have time for V-Day.


So the chain hearts are easy to do. You fold a piece of paper into a fan and then make a cut out of a heart half.


Once you finish the  folding the paper all the way then you simply cut a heart shape out but you only have to cut the large curve and the angle.
Then unfold it and you can add what ever you would like. My son loves to put the first verse that he learned on it " 1 John 4:8 God is love".  We added some stickers on them and a colored on them and made an awesome memory and project that he helped with.


We had fun sending them to our cousins and Grandparents! This is one of them that we sent on to some of the family Of course it is a different verse than I had mention.

So then we started to talk about other things that begin with a "H." We then complied a this of things that began with "H" such as hat, hair, head, happy, hazel, heart and hippopotamus. So then I made a quick scrabble to the craft area and pulled out a bunch of things that we could do to make stuff with the letter "H." We grabbed some popsicle sticks, felt, sharpie, yarn, and paper with handwriting paper.
We then made the letter "H" with popsicle sticks. 
I then wanted to describe to my son with word actions of how to create the capital letter H.

Big line down. Big line down. Little line across. 

He really seems to understand those terms. For his first attempt at drawing the letter H he did a very impressive job.


Then we drew a head I tried to make a face shape with a sharpie on the and got some glue and glued some hair to it. 
He was super pumped about the one on one time with his momma since his brother was napping and he also really likes to learn so this was right up his alley.
I think we will do a letter of the week for a little bit and  continue to work on his verses for Awana together.